- Print
- DarkLight
- PDF
Once the skill is created, you can train it automatically or manually to configure how it processes data. Follow the below steps to train the skill:
Select the newly created skill.
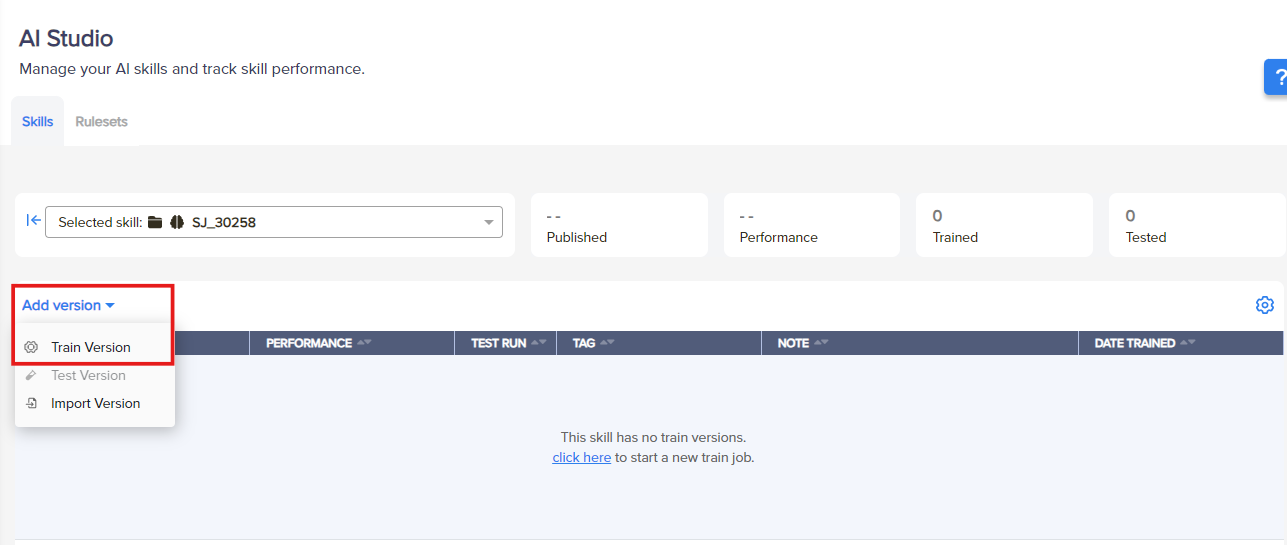
Click on the Add Version drop-down.
Select Train Version to start training the skill.
Note
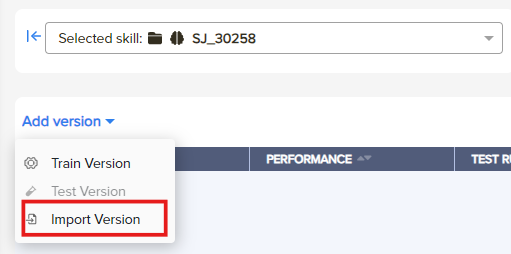
If you have a previously trained skill in .umo format, select Import Version to import it.
You can now define the AI skill properties in one of two ways: Automatic or Manual. Follow the relevant steps based on your preference.
Automatic AI Skill Properties:
Choose Automatic to let the AI Studio automatically select the best-performing Skill Classifier.
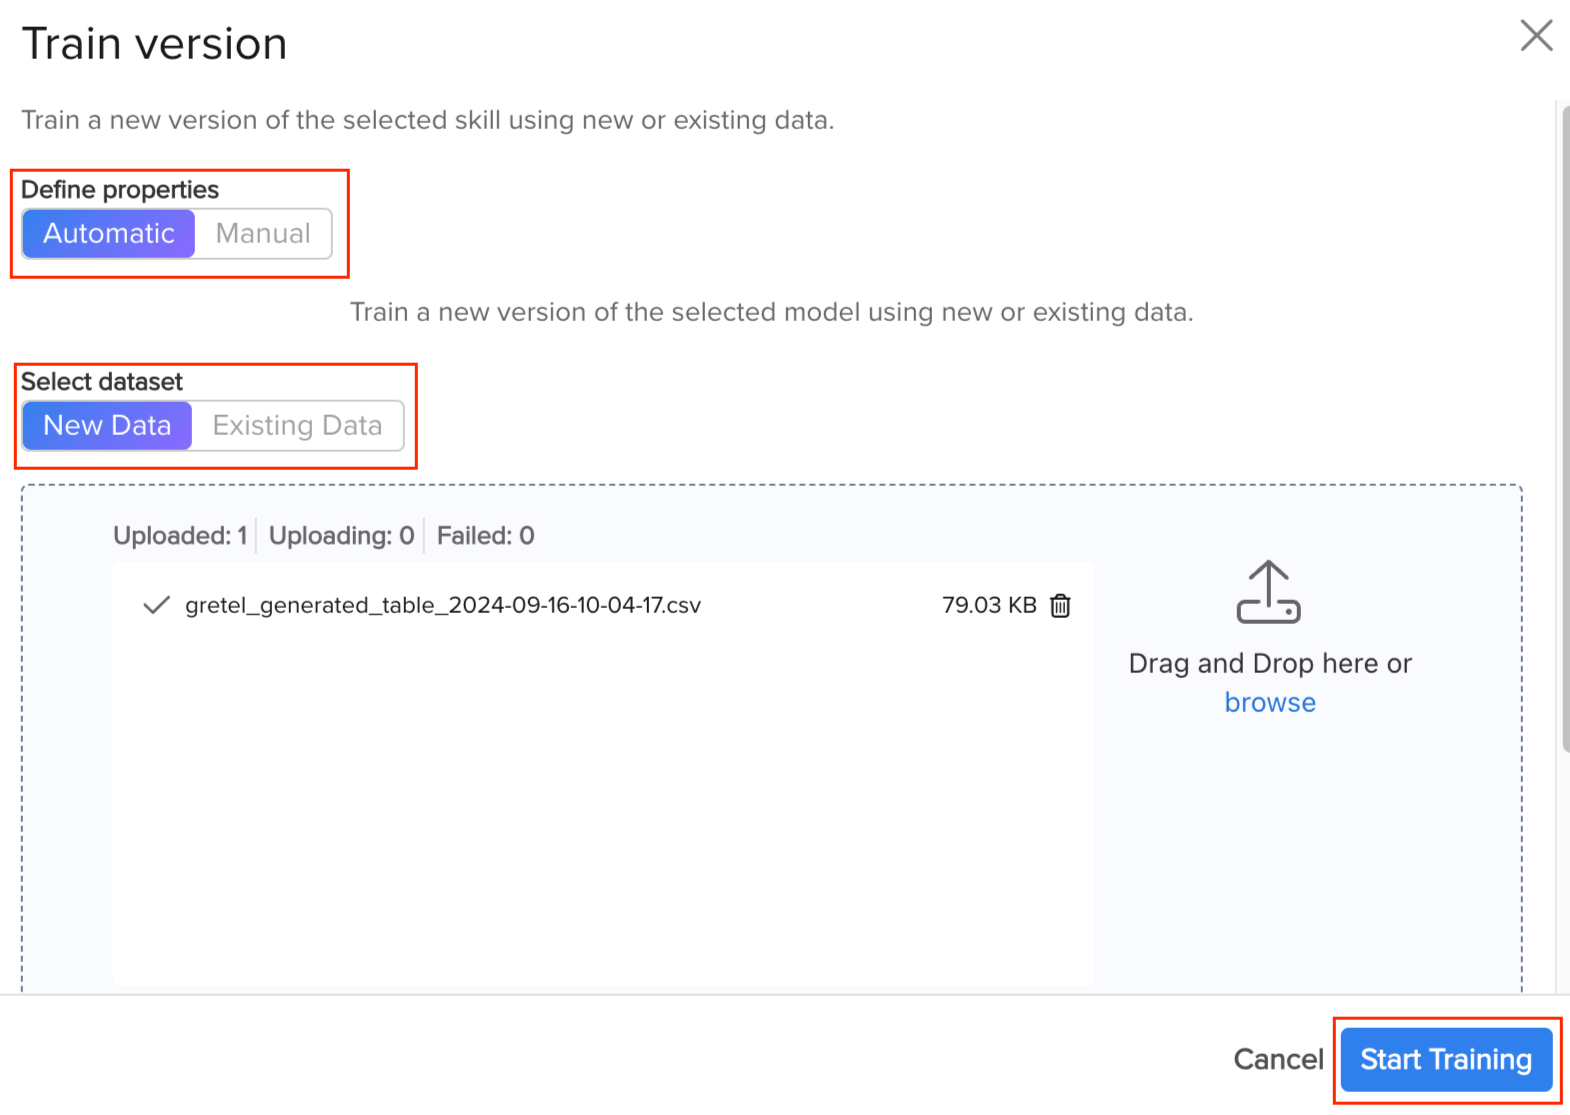
Select New Data.
Upload the .CSV file containing the training data.
Click Start Training.
You can scroll down and add any additional notes required for this training version.

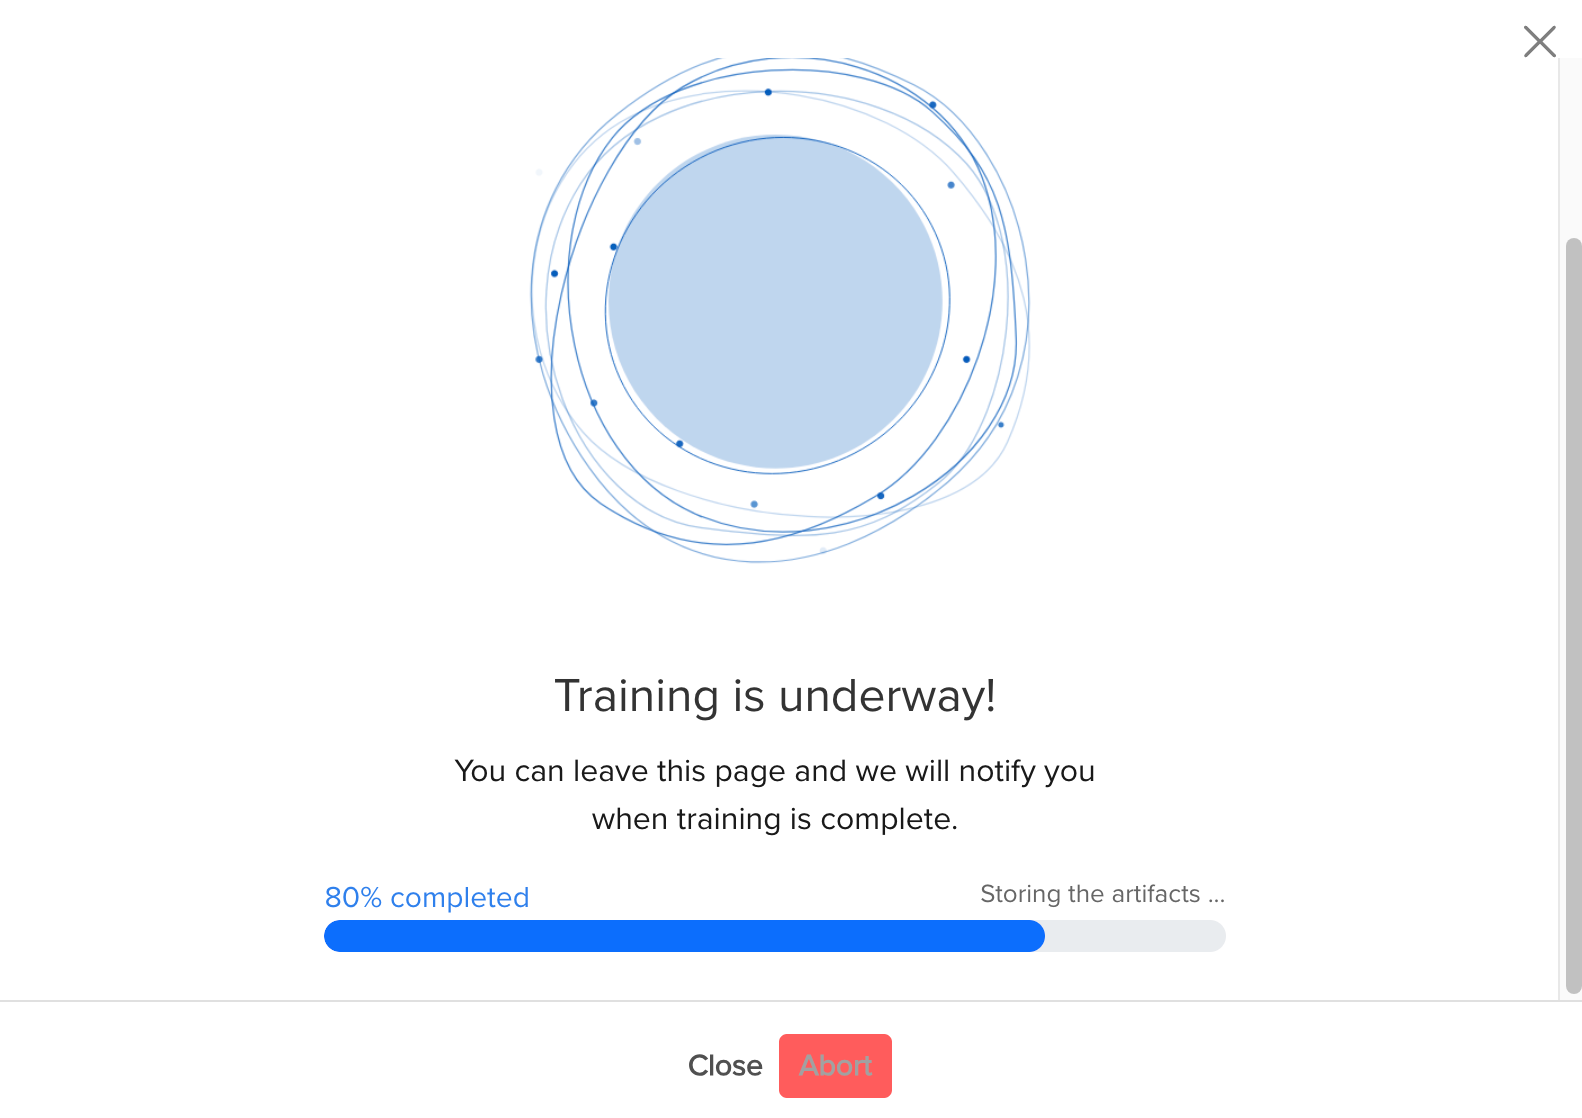
You will see a progress screen while the AI skill is being trained.
Manual AI Skill Properties:
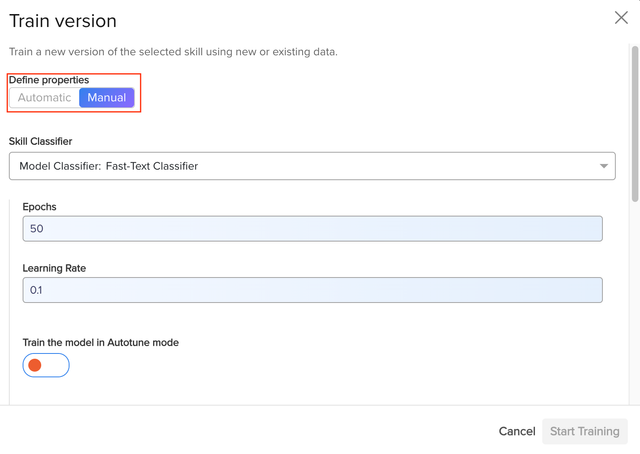
Choose Manual to manually configure the skill properties.
Select the classifier model from the Skill Classifier drop-down.
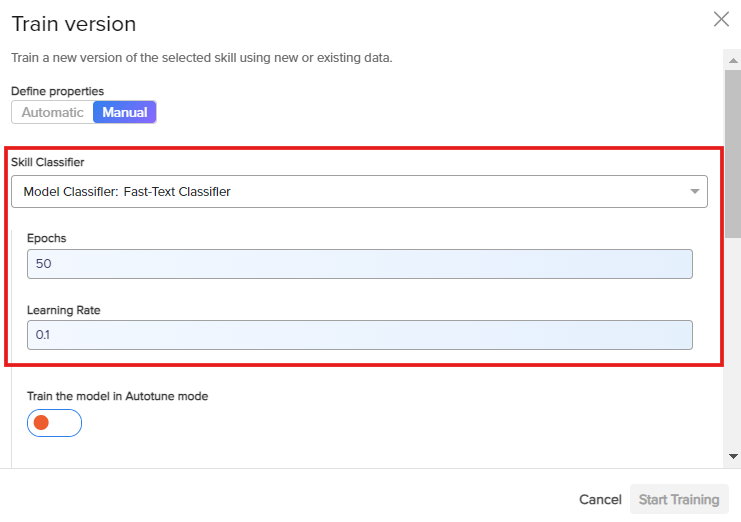
Enter the number of Epochs.
Set the Learning Rate.
Toggle the Train the model in Autotune mode and Train the model in Multilabel mode switches based on your preferences.
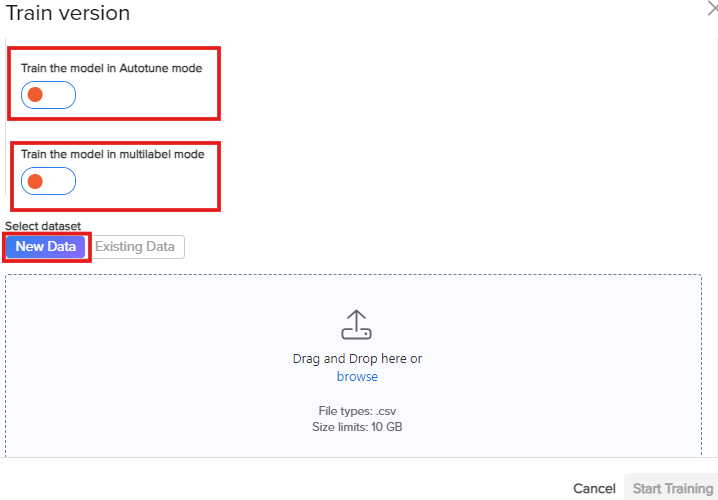
Select New Data.
Upload the .CSV file containing the training data.
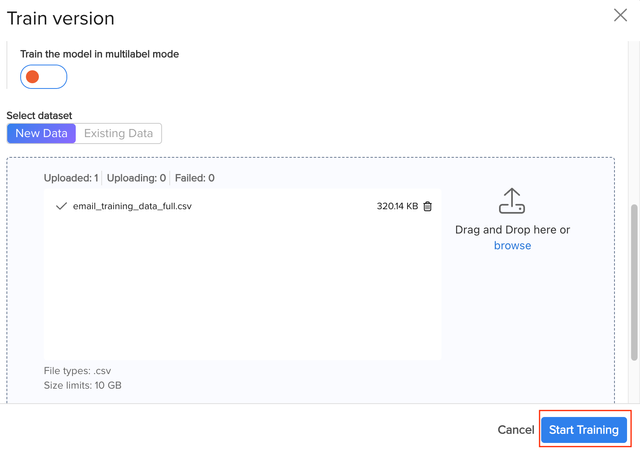
Click Start Training.
You can scroll down and add any additional notes required for this training version.

You will see a progress screen while the AI skill is being trained.
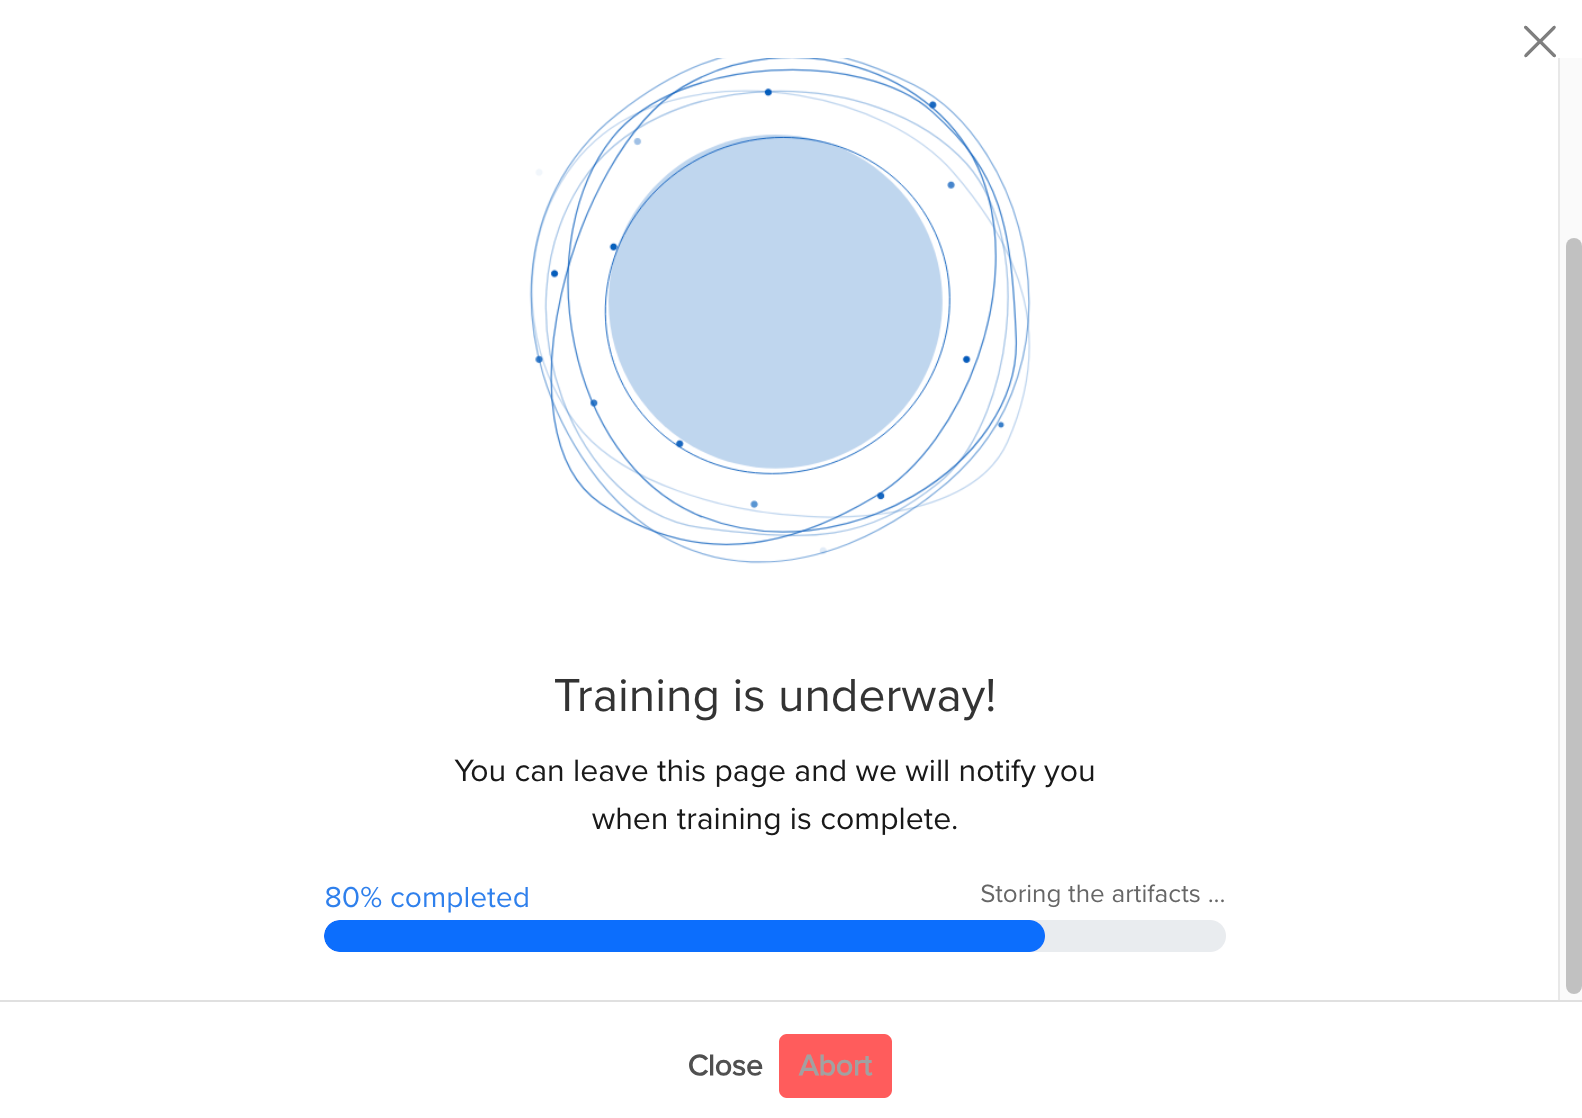
Table View After the Skill is Trained:
Once the AI skill is trained, the Table View presents a detailed summary of the skill's performance and configuration. Below are the key elements of the table:

Summary Table: This table shows a summary of the different skill versions and their key details:
Skill Versions: Lists the versions of the skill.
Performance: Shows the performance percentage of the skill version.
Test Run: Displays how many times the skill version has been tested.
Tag: Shows the classifier type or tags applied.
Note: Displays any notes added by the citizen developer during training.
Date Trained: Shows when the skill was trained.
Three Vertical Dots: Provides additional options such as:
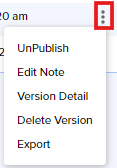
Publish/Unpublish: Option to publish or unpublish the selected skill version.
Edit Note: Allows editing the note for the skill version.
Version Detail: Displays classifier details, dataset, and data distribution for the selected version.
Delete Version: Allows deleting the skill version.
Export: Export the skill in .umo format.
Add/Modify Version: You can add or modify skill versions using the Add Version drop-down, which has the following options:
Train Version: Option to train a new skill version.
Test Version: Option to test a trained skill version.
Import Version: Allows importing a previously trained skill of the .umo format.
Skills Drop-down: This drop-down allows you to select a different skill to view or modify.
Skill Details Cards: This section shows additional details of the selected skill, including:

Published: Indicates which version of the skill is published.
Performance: Shows the performance percentage of the published skill.
Trained: Displays how many times the skill has been trained.
Tested: Displays how many times the skill has been tested.
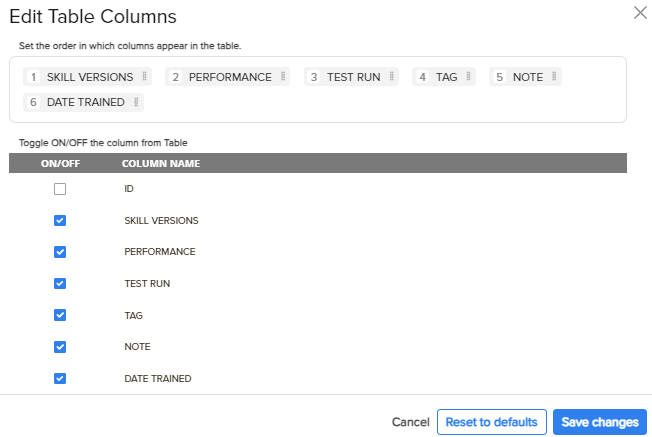
Summary Table Settings: Use the check box to select the columns to show or hide based on your preferences.
