- Print
- DarkLight
- PDF
Overview
The purpose of this accelerator is to streamline the clinical trial pre-screening process for participants. Efficient management of clinical trials is essential for gathering accurate data, ensuring participant compliance, and regulatory standards. This accelerator eliminates the need for manual scheduling, repetitive paperwork, and constant phone calls, reducing administrative burdens. This accelerator ensures a smooth and efficient process by automating the pre-screening, scheduling and management of clinical trial activities.
Below is a step-by-step guide to securely manage the clinical trial pre-screening process through the Ushur Invisible App.
Accelerator Navigation
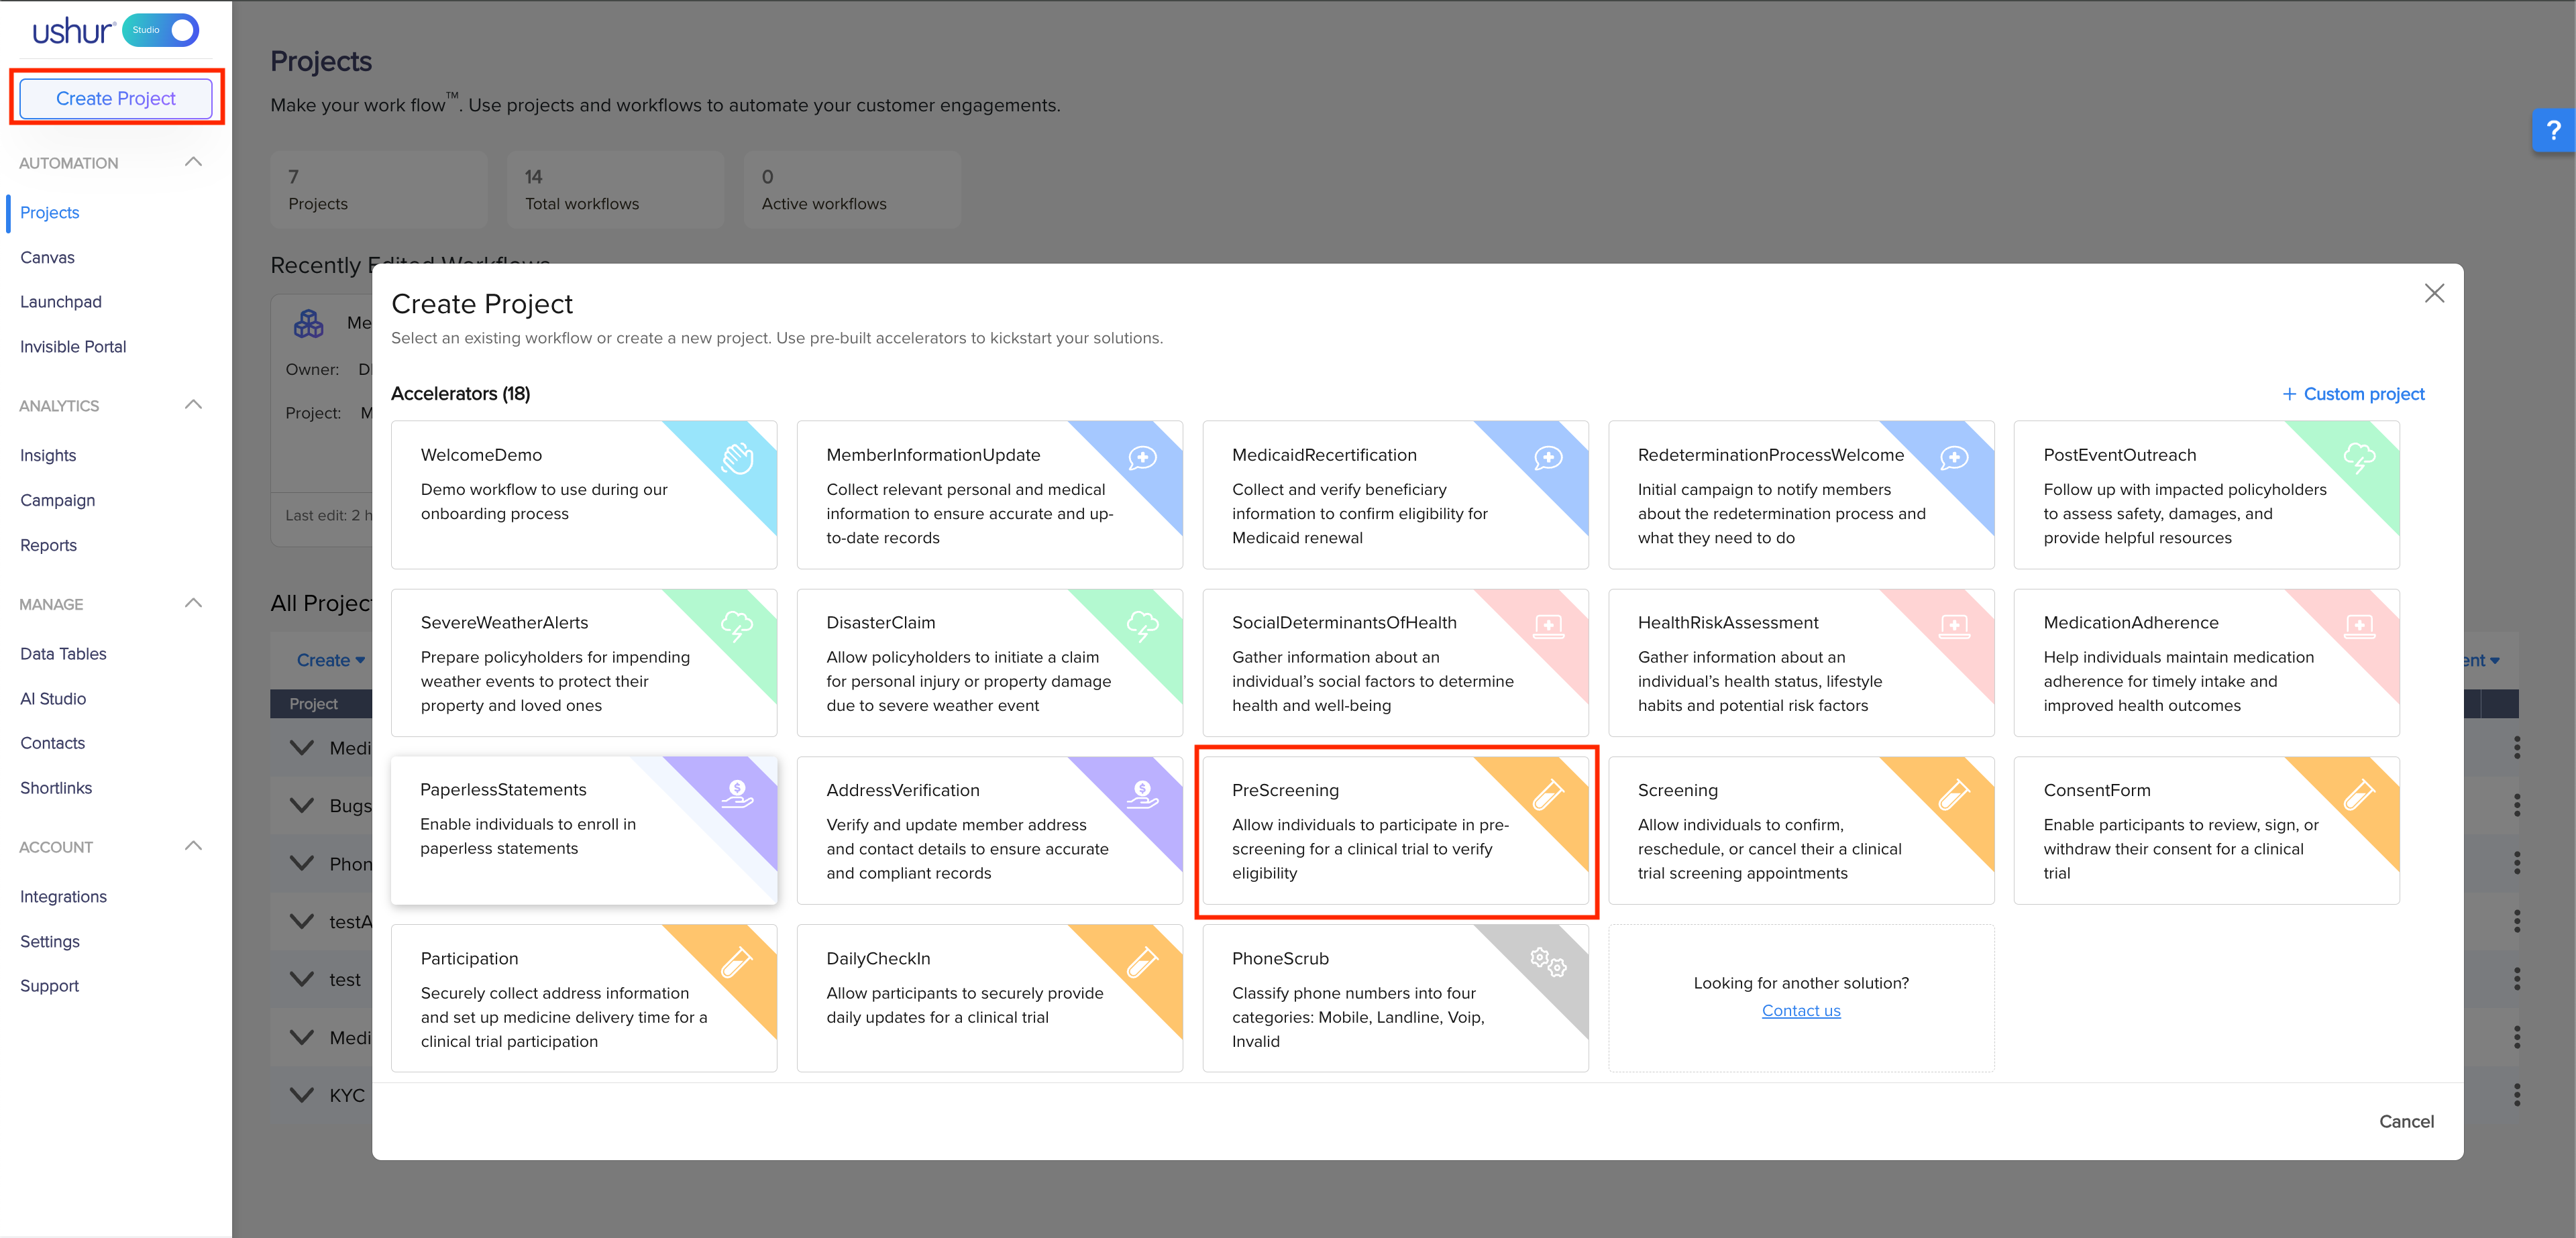
Navigate to Create Project > PreScreening.

The Workflow

To configure the workflow settings refer to Configure the Setup and Start Option.
Description Of The Steps
Step Name | Description/Functionality |
|---|---|
Welcome! | First engagement with the end-user with a welcome message stating the purpose of the engagement and providing a link to the Ushur Invisible App. |
AgeVerification | Asking the end-user for their date of birth and verifying their eligibility. |
NotEligible | Stating the end-user is not eligible for the Clinical Trial. |
Disease1Questions | End-user answers a couple of questions about a particular disease. |
Disease2Questions | End-user answers a couple of questions about another particular disease. |
ScreeningAppointment | Stating the end-user is eligible for the screening appointment and collecting their first name, last name, contact information, zip code, and a date and time for their screening appointment.
|
LaunchScreening | For the next step, launch the ‘Screening’ workflow.
|
Pre-Defined Tags Configuration
To Configure the pre-defined tags, navigate to Setup & Start > Data.

Tag Name | Tag Description |
|---|---|
CompanyName | Name of the company conducting the clinical trial |
CompanyNumber | Phone Number of the company conducting the clinical trial |
Disease1 | Name of the disease you want to first ask questions about |
Disease1Diagnosed | If the end-user has been diagnosed with the disease specified in the Disease1 tag
|
Disease1SymptomsAfterMedication | If the end-user still has symptoms of the disease specified in the Disease1 tag after taking medication
|
Disease2 | Name of the disease you want to ask questions about second |
Disease2Diagnosed | If the end-user has been diagnosed with the disease specified in the Disease2 tag
|
Disease2MedicationList | List of all the medications the end-user takes for the disease specified in the Disease2 tag. |
LabName | Name of the lab conducting the clinical trial |
PatientAge | Age of the end-user |
PatientDoB | Date of birth of the end-user |
PatientEmailAddress | Email address of the end-user |
PatientFirstName | First name of the end-user |
PatientLastName | Last name of the end-user |
PatientPhoneNumber | Phone number of the end-user |
PatientZipCode | Zip code of the end-user |
ScreeningAppointmentDateTime | Timestamp of the clinical trial screening appointment of the end-user |
Additional Enhancement Suggestions
Add reminders
You can remind the end-user to finish incomplete engagements through Enable Reminders. Refer to General Tab.
Add MFA (Multi-factor authentication)
Enable OTP-based multi-factor authentication for the Invisible App. Refer to Invisible App Tab.
Use the AI Skill module for document extraction
The end user can directly upload a copy of their recent medical tests and the AI Skill Module will extract all the relevant information. Refer to AI Skill Module.
Add Call an Agent capability
The end-user can have the option to call a healthcare provider or a doctor and connect with them for instant support. Refer to Phone Agent Module.
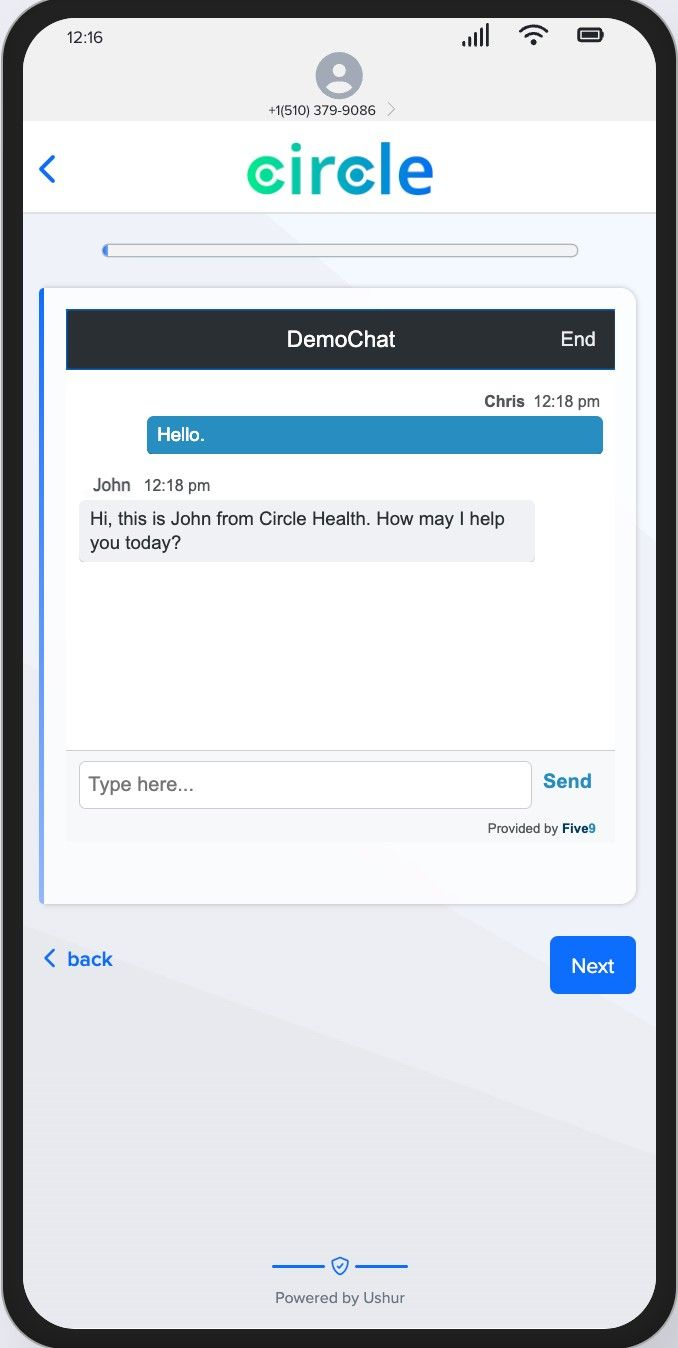
Integrate third party chat capability
You can integrate a third party chat like Five9 in the Invisible App experience. Contact your CSM to know more. Below is a reference:

Data Integration
Data Table is the data from the Enterprise that Ushur utilizes within the workflow and then exports it back to the Enterprise. For more information refer to Data Tables.
Export Data Module

The Export Data module helps you to store the information of the tags into the data table or a predefined SFTP server. To export the values the tags into the data table:
Drag and drop or double-click the Export Data module into the Inspector Panel of the LaunchScreening Step and double click to configure it.
Under Export to choose your export destination as Datatable.
Select the data table you want to export data to from the Export to Datatable dropdown.
Select a destination datatable column from the Export to dropdown for all the tags whose data you want to export.
An Example Of Setting Up The Data Table
Add the properties to the data table.

Data in the Data Table before executing the workflow

Data in the Data Table after executing the workflow


