- Print
- DarkLight
- PDF
Overview
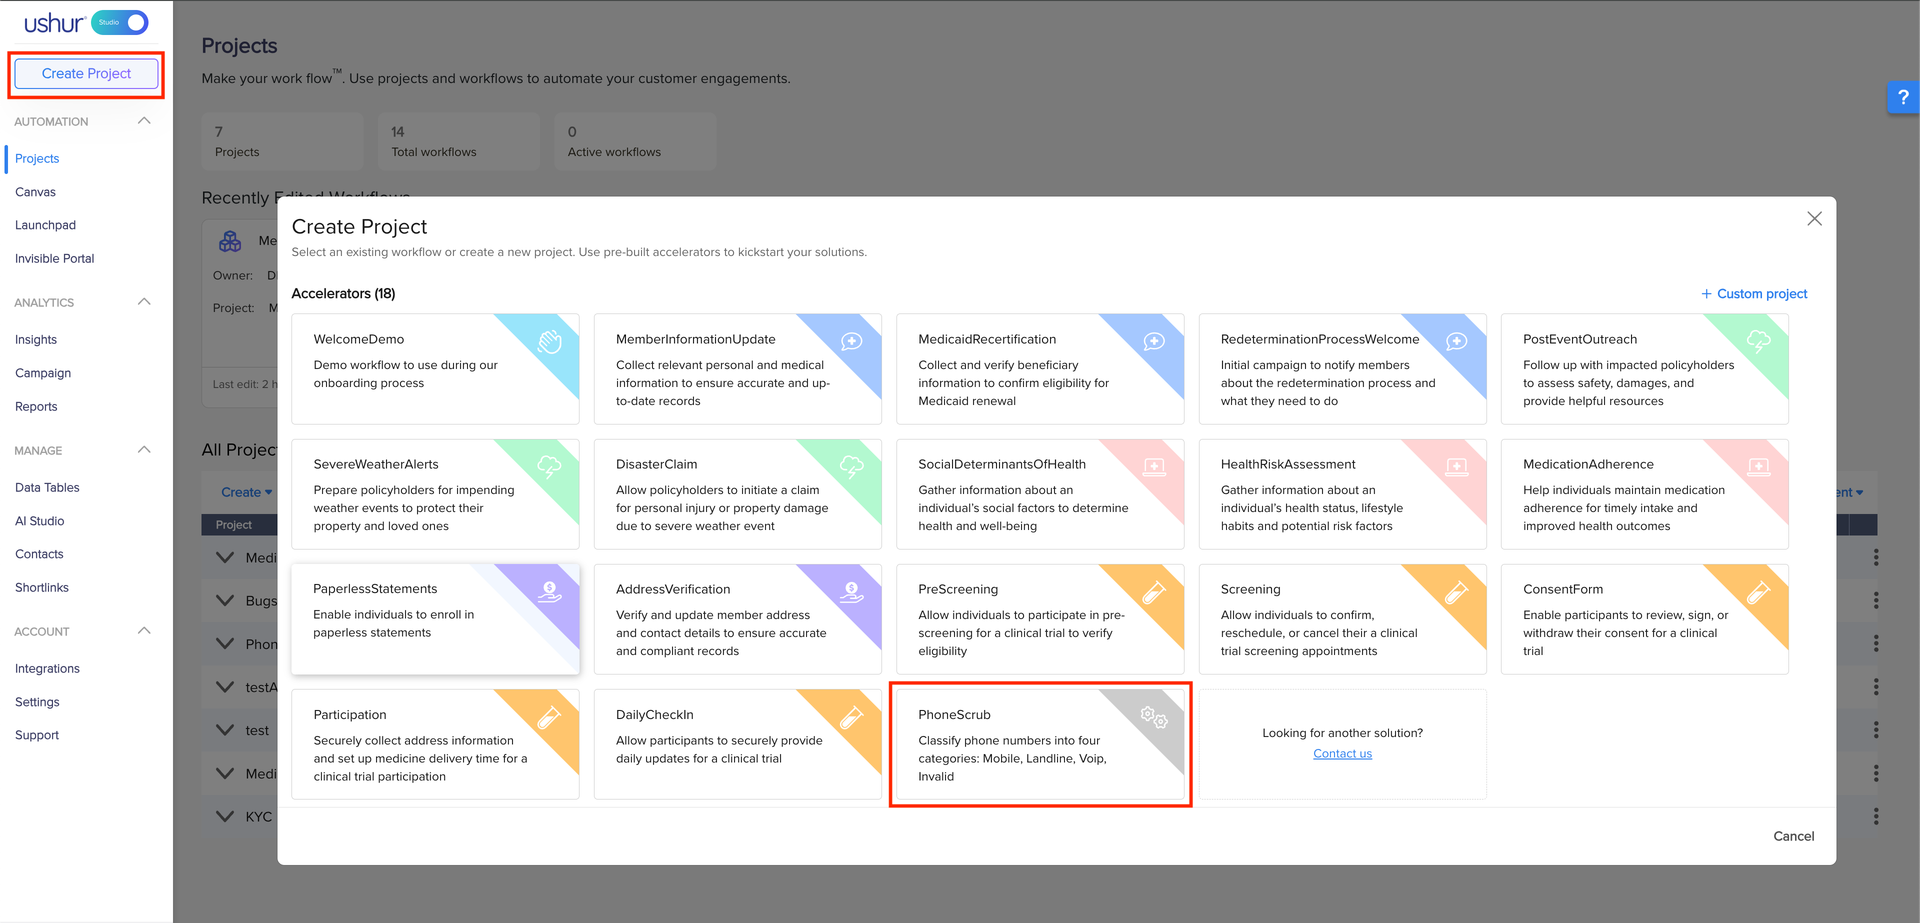
The purpose of this accelerator is to classify phone numbers into four categories:
Mobile
Landline
VoIP
Invalid.
Below is a step-by-step guide to securely classify phone numbers using Ushur Studio workflow.
Accelerator Navigation
Navigate to Create Project > PhoneScrub.

The Workflow

To configure the workflow settings, refer to Configure the Setup and Start Option.
Description Of the Steps
Step Name | Description/Functionality |
|---|---|
Welcome! | Default welcome step |
Fetch | Import Data from the Data Table to the tags and execute the rest of the workflow only if the PhoneType is an empty field |
PrimaryNumberPhoneScrub | The API call for checking the phone type of the primary phone number |
ComputeInvalidForPrimary | If the API call for the primary number returns “unknown” or an empty value, then store “Invalid” in the PhoneType tag |
AlternateNumberPhoneScrub | The API call for checking the phone type of the alternate phone number |
ComputeInvalidForAlternate | If the API call for the alternate number returns “unknown” or an empty value, then store “Invalid” in the AlternatePhoneType tag |
Store | Store the values of the tags into the Data Table |
Pre-Defined Tags Configuration
To Configure the pre-defined tags, navigate to Setup & Start > Data.

Tag Name | Tag Description |
|---|---|
API | API endpoint address
|
AlternateAPIResponse | Alternate number phone scrub’s API response in JSON format |
AlternatePhoneFlag | Flag to notify if an alternate number exists |
AlternatePhoneNumber | Alternate phone number |
AlternatePhoneType | Type of the alternate phone number
|
AuthToken | The authorization key to access the API
|
PhoneNumber | Phone number to be classified |
PhoneType | Type of the Phone Number
|
apiResponse | API response in JSON format |
Additional Enhancement Suggestion
Swap primary phone number and alternate phone number:
If the primary phone number is a valid landline and the alternate phone number is a valid mobile, you can swap the numbers for a better campaign. To perform the swap:

Create a step by clicking on the line connector between ComputeInvalidForAlternate Step and Store Step and click on Insert Step. You can name this New Step according to your preference.
Select this new step in the If no conditions are met, branch to… dropdown in the Branch Module of the AlternateNumberPhoneScrub Step.
Drag and drop or double-click the Compute module into the Inspector Panel of the New Step and double click to configure it.
Insert the below Compute Blocks to carry out the swap.
Data Integration
Data Table is the data from the Enterprise that Ushur utilizes within the workflow and then exports it back to the Enterprise. For more information refer to Data Tables.
|
|
Import Data Module
The Import Data module helps you to integrate the data table records into the workflow tags. To integrate the data table records into tags, follow the below steps:
Drag and drop or double-click the Import Data module into the Inspector Panel of the Fetch Step and double click to configure it.
From the Datatable to link dropdown select the data table from which you want to import data.
Choose the Unique key of your data table and select the record to link the key value from the respective dropdowns.
Select the next step to be executed from the On Error Branch to dropdown in case an error occurs while fetching the data.
Select the checkbox named Copy Data From and map your data table properties to the respective tags.
Select the tag from Save To dropdown. The tag descriptions are described above in the Tag Description Table.
You can also store the data table properties into new tags, scroll down to the bottom of Save To dropdown to find the New Tag button.
Export Data Module
The Export Data module helps you store the tags' information in the data table or a predefined SFTP server. To export the values of the tags into the data table:
Drag and drop or double-click the Export Data module into the Inspector Panel of the Store Step and double click to configure it.
Under Export to choose your export destination as Datatable
Select the data table you want to export data to from the Export to Datatable dropdown.
Select a destination datatable column from the Export to dropdown for all the tags whose data you want to export.
Bulk Upload Trigger
The bulk upload trigger feature helps you to trigger the workflow when you upload data in the datable. For more information refer to Bulk Upload and Trigger Ushurs Using CSV File.


