- Print
- DarkLight
- PDF
Customizing the BlackList, WhiteList, and AllowList
Ushur enables you to manually manage the list of phone numbers that can go into each of these Lists. Both these tabs are enabled for specific purposes. This helps when you want to add a few phone numbers to an existing list. If you do not see these tabs on the Ushur Dashboard, contact your Customer Success Manager.
A number can be blacklisted in the following two ways:
Platform Initiated - Use the options from the Blacklist tab to add or remove the numbers
User Initiated - Users initiate to opt-out from receiving any further notifications using the SMS channel. If in a specific case where the user might have deleted chat history along with the phone number, the number will be opted out. Contact your Admin user or the Customer Success Manager to restore the number in such scenarios.
The User must re-initiate and opt-in to receive communication. On receiving a user request, the number will then be removed from being blacklisted.
Follow the steps below to modify the numbers from the Ushur Platform:
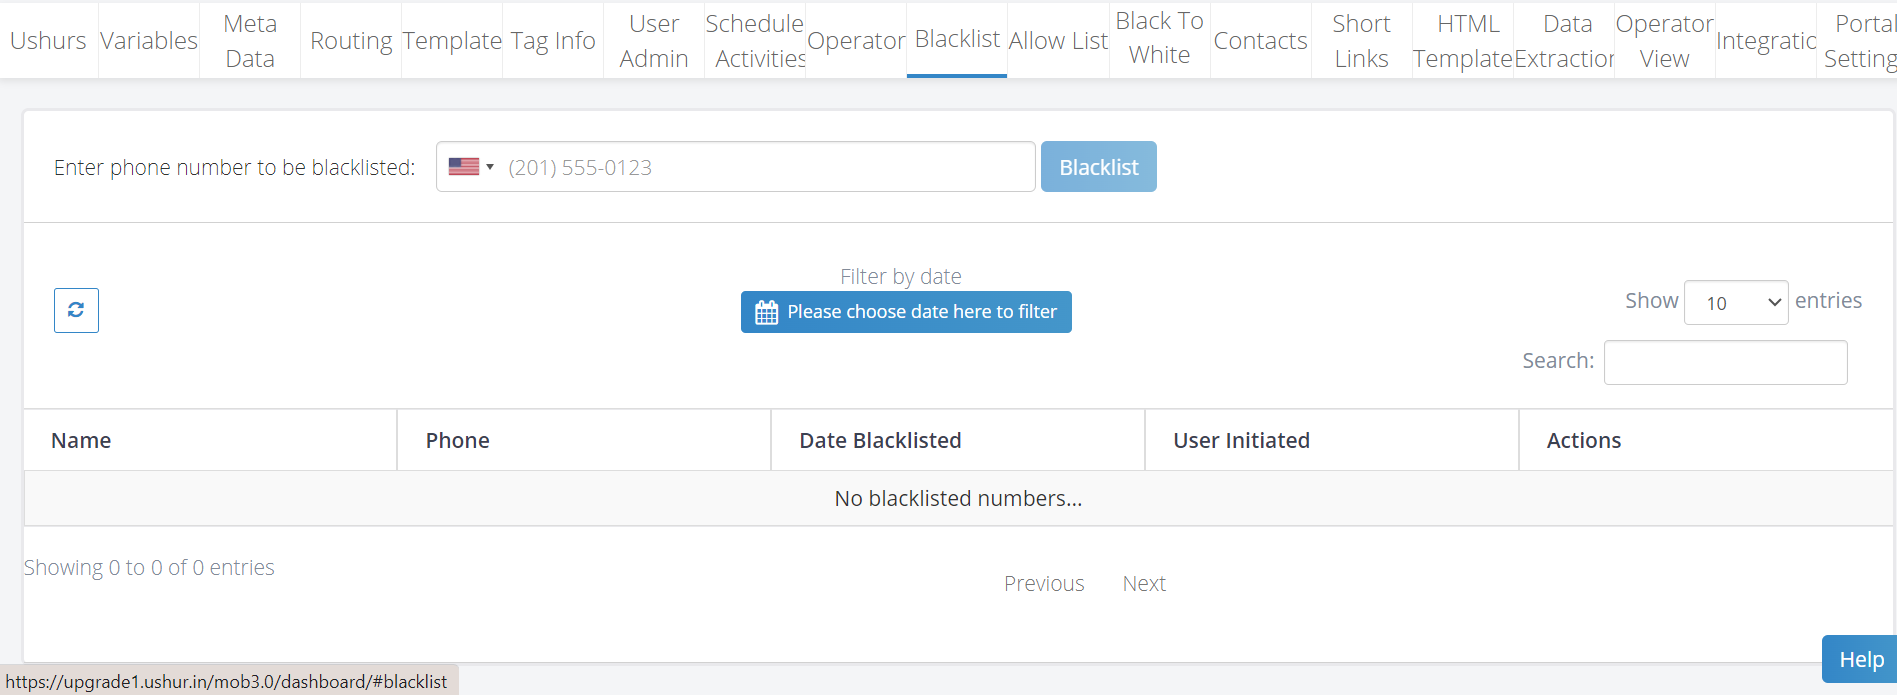
From within the Application Context, click the BlackList or the AllowList tabs based on your specific need.
Add the phone numbers and click BlackList or AllowList in either of the tabs. You can manually add any number of phone numbers. Ensure to select the appropriate country phone code before you type the number.
The list of numbers will be displayed as and when you append them. This will ensure that the numbers either receive or are blocked from any of the communication you wish to send them. You can also choose to select the Drag ‘n Drop a file: option or import the Excel or CSV file if you have a larger number of phone numbers. You can also use the filters to view the blacklisted numbers by the date. Click Please Choose a date here to filter the option to see specific records for a particular date.

To remove the number from the BlackList click Remove from BlackList, as shown below.

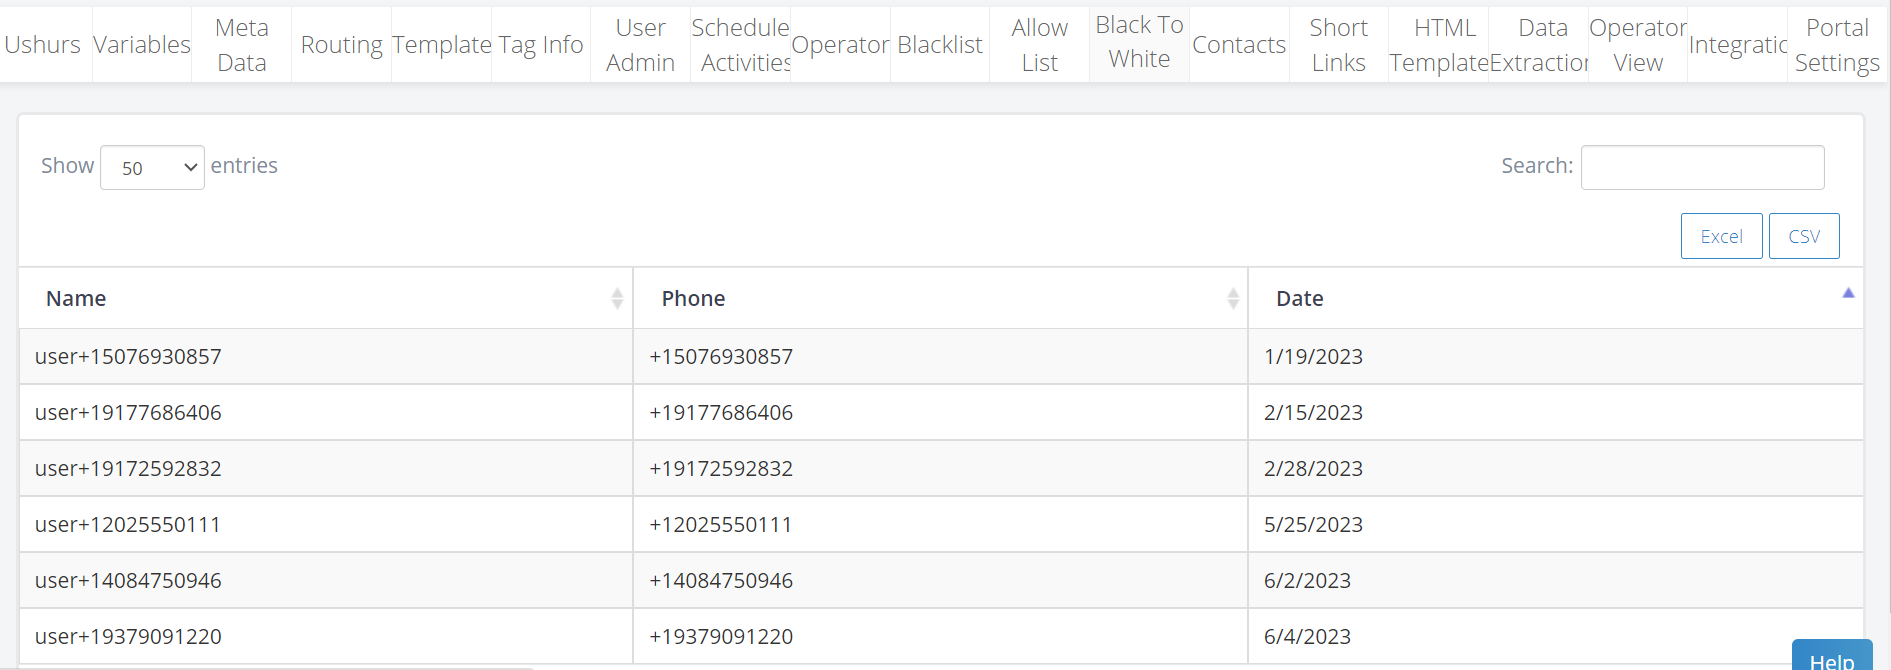
This will add the numbers and make them white-listed. Click the Black to White tab to view the list of numbers that are whitelisted.

Using the Allow List Tab
The primary goal of creating the Allow List is help you to target engagements to specific customers. Adding numbers in the AllowList also enables you to target only those specific phone numbers to which you want to target any engagement. This helps in scenarios where you want to avoid sending engagements accidentally large lists. To enable this option, contact your Customer Success Manager.
To remove the number from the Allow List click Remove from Allow List, as shown below.

