- Print
- DarkLight
- PDF
Address Verification Accelerator
Overview
The purpose of this accelerator is to verify the end-user's address and contact information. Address verification is crucial as it helps prevent fraud, comply with regulatory requirements, and maintain accurate records. With this accelerator, there's no need to send hard copies, fill endless fields, or rely on insecure mail, eliminating constant follow-ups. This accelerator provides a streamlined address and contact verification process, ensuring accuracy and efficiency.
Below is a step-by-step guide to securely verify an end-user’s address and contact details through the secure Ushur Invisible App.
Accelerator Navigation
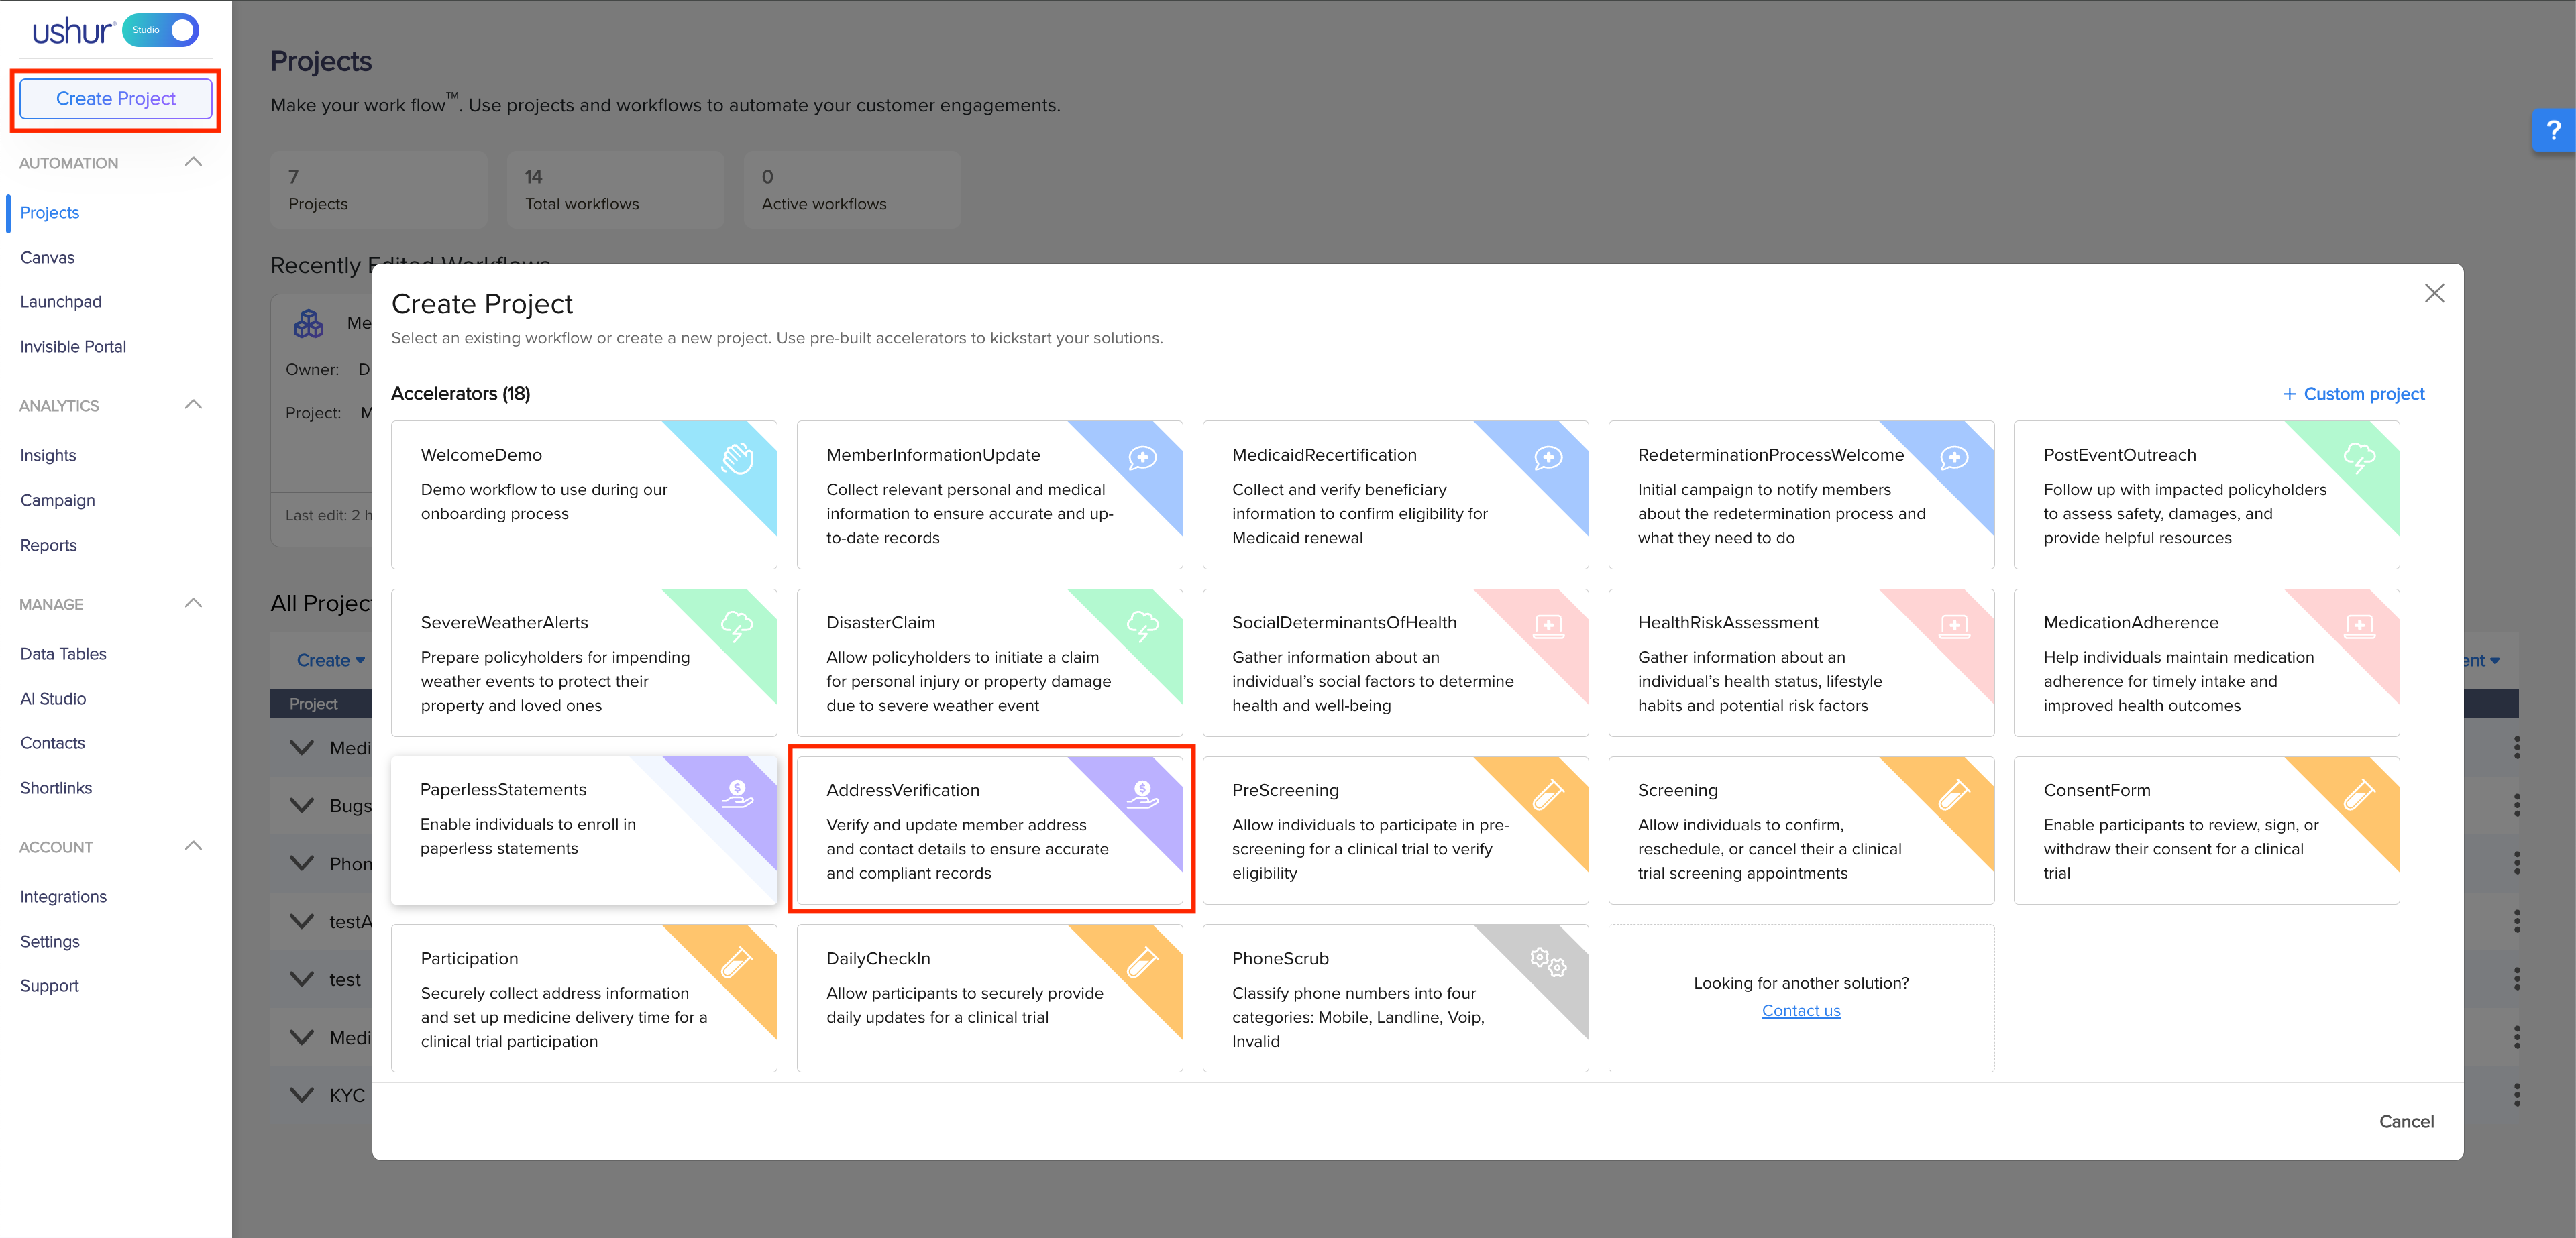
Navigate to Create Project > AddressVerification.

The Workflow

To configure the workflow settings refer to Configure the Setup and Start Option.
Description of the Steps
Step Name | Description/Functionality |
|---|---|
Welcome! | First engagement with the end-user with a welcome message stating the purpose of the engagement and providing a link to the Ushur Invisible App. |
Address | End-user verifies the address stored in the records and updates its address if necessary. |
Preferences | End-user selects its preferred mode of communication and verifies contact details and updates the contact details if necessary. |
Review | End-user reviews its address, phone number, email ID, and preferred mode of communication. |
ThankYou | Last engagement with the end-user with a thank you message and asserting their information is successfully and securely stored in the records. |
Pre-Defined Tags Configuration
To Configure the pre-defined tags, navigate to Setup & Start > Data.

Tag Name | Tag Description |
|---|---|
AddressCity | City of end-user’s address |
AddressLine1 | Line 1 of end-user’s address |
AddressLine2 | Line 2 of end-user’s address |
AddressState | State of end-user’s address |
AddressZip | Zip code of end user’s address |
BankName | Name of the Bank |
DigitalOptIn | End-user’s consent for digital communication
|
EmailAddress | Email address of the end-user |
FirstName | First Name of the end-user |
ListOfStates | List of all the states in the United States |
PhoneNumber | Phone number of the end-user |
PreferredMode | Preferred mode of communication of the end-user
|
UpdateAddress | If the end-user wants to update its address.
|
UpdateEmailAddress | If the end-user wants to update its email address.
|
UpdatePhoneNumber | If the end-user wants to update its phone number.
|
Additional Enhancement Suggestions
Add reminders
You can remind the end-user to finish incomplete engagements through Enable Reminders. Refer to General Tab.
Add MFA (Multi-factor authentication)
Enable OTP based multi factor authentication for the Invisible App. Refer to Invisible App Tab.
E-signature at the end of review section
In the Review Step you can request the end-user’s E-signature for officially approving the verified information. Refer to Use E-Signature in the Invisible App.
Use the AI Skill module for document extraction
The end user can directly upload a valid proof of identity and the AI Skill Module will extract all the relevant information. Refer to AI Skill Module.
Offer additional banking operations at the end of the engagement
At the end of engagement, ask the end-user if they want to perform any other banking operations (like ‘View Loan Statement’, ‘Review Transaction History’, ‘Enroll in Paperless Statements’, ‘Update Contact Information’ etc.) and launch the respective workflow using the Launch Workflow module. For more information refer to the Launch Workflow Module.
Data Integration
Data Table is the data from the Enterprise that Ushur utilizes within the workflow and then exports it back to the Enterprise. For more information refer to Data Tables.
 Import Data Module |  Export Data Module |
Import Data Module
The Import Data module helps you to integrate the data table records into the workflow tags. You can use the tags to display data or ask the end-user to update the value of the tags. To integrate the data table records into tags, follow the below steps:
Drag and drop or double-click the Import Data module into the Inspector Panel of the Welcome Step and double-click to configure it.
From the Datatable to link dropdown select the data table from which you want to import data.
Choose the Unique key of your data table and select the record to link the key value from the respective dropdowns.
Select the next step to be executed from the On Error Branch to drop-down in case an error occurs while fetching the data.
Select the Copy Data From checkbox and map your data table properties to the respective tags.
Select the tag from Save To dropdown. The tag descriptions are described above in the Tag Description Table.
You can also store the data table properties into new tags, scroll down to the bottom of the Save To dropdown to find the New Tag button.
Export Data Module
The Export Data module helps you store the tags' information in the data table or a predefined SFTP server. To export the values of the tags into the data table:
Drag and drop or double-click the Export Data module into the Inspector Panel of the ThankYou Step and double-click to configure it.
Under Export to choose your export destination as Datatable
Select the data table you want to export data to from the Export to Datatable dropdown.
Select a destination datatable column from the Export to dropdown for all the tags whose data you want to export.
An Example of Setting Up the Data Table
Properties to the data table.

Data in the Data Table before executing the workflow.

Data in the Data Table after executing the workflow.


